Best Seasons for Cedar Chest Repairs
Cedar chest repairs are ideally scheduled during periods of stable indoor humidity and temperature. Optimal conditions help prevent further wood expansion or contraction, which can worsen existing damage. Typically, late spring and early fall offer the most consistent environmental conditions for repairs.
Spring and fall provide moderate humidity levels, reducing the risk of wood warping during repairs.
Choosing a time when indoor conditions are stable minimizes additional stress on the cedar wood.
Repair projects should be avoided during extreme heat or cold, which can affect the wood's response to repairs.
Planning repairs during mild weather allows for better control over the environment and curing process.

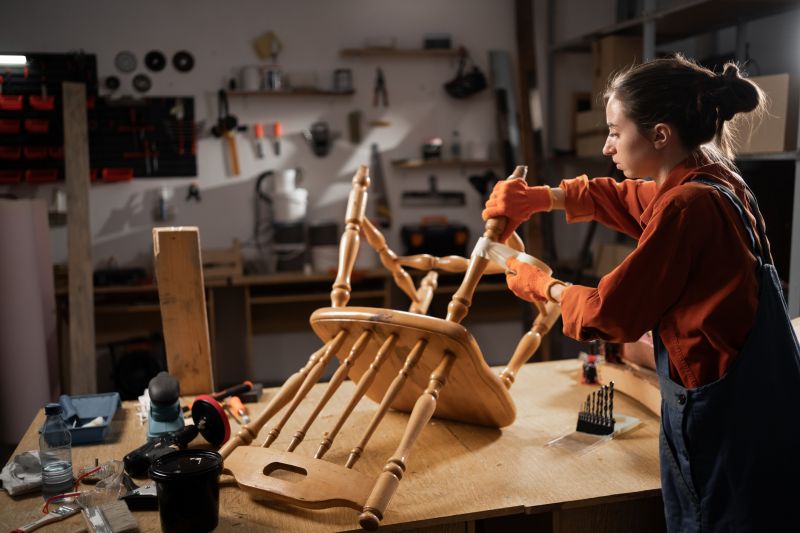
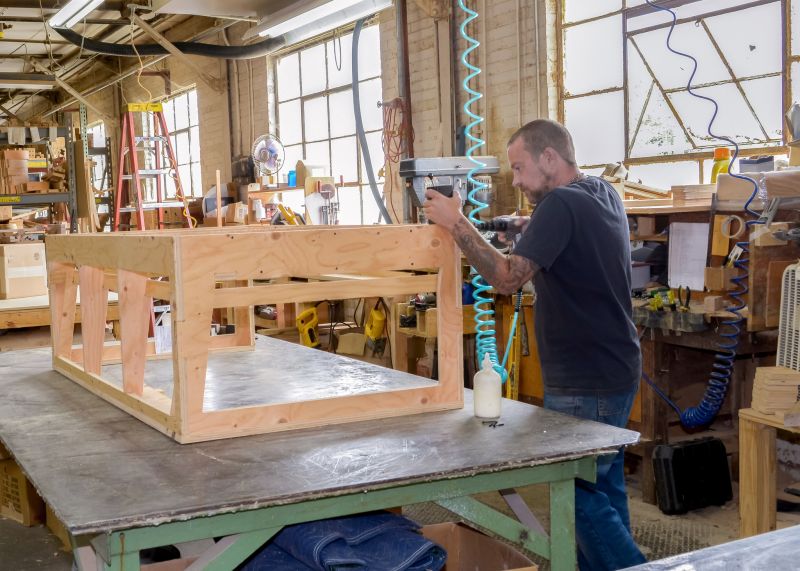
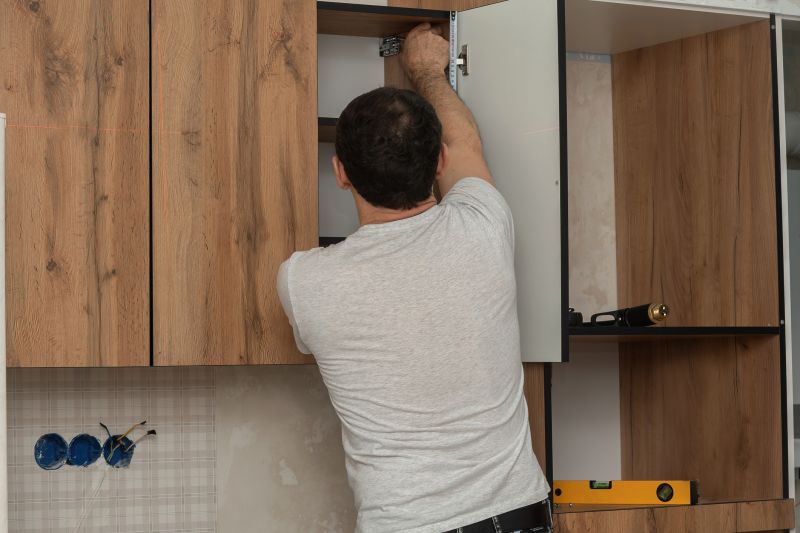
A professional repairing a cedar chest during the moderate spring season.
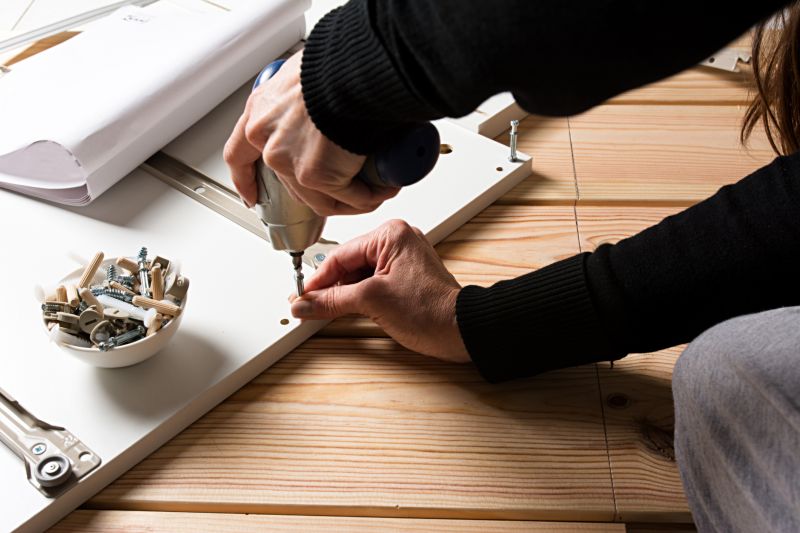
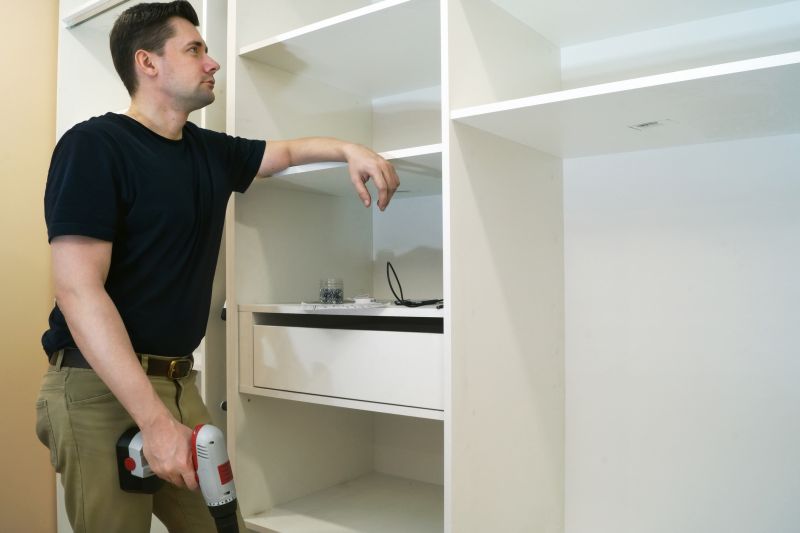
Tools and materials prepared in a climate-controlled workshop for optimal cedar chest restoration.
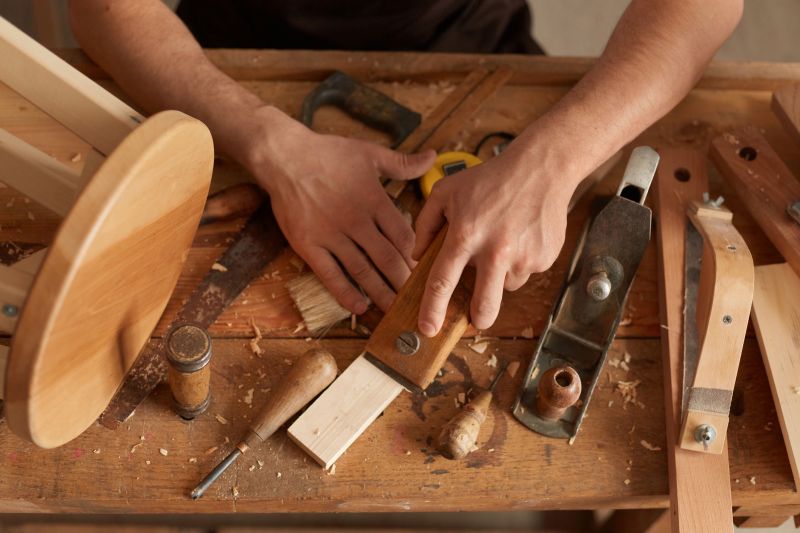
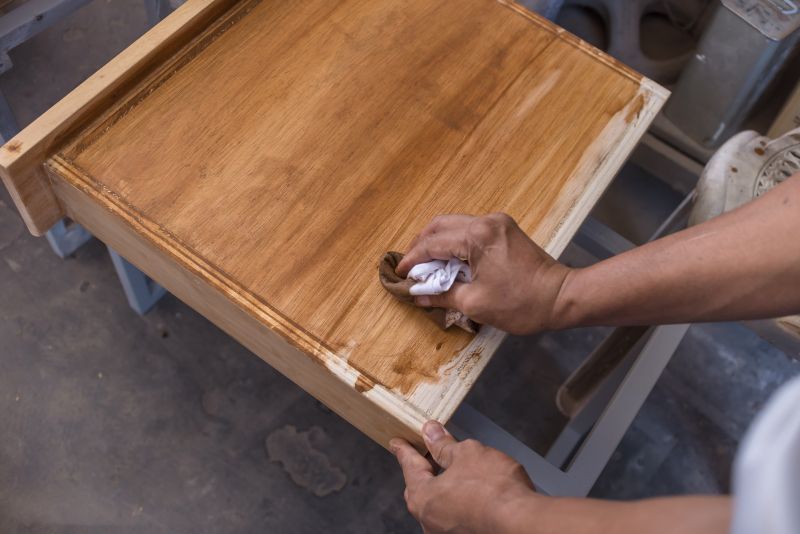
Close-up of a craftsman restoring a damaged cedar chest, emphasizing stable environmental conditions.
Ways to make Cedar Chest Repairs work in tight or awkward layouts.

Popular materials for Cedar Chest Repairs and why they hold up over time.

Simple add-ons that improve Cedar Chest Repairs without blowing the budget.
High-end options that actually feel worth it for Cedar Chest Repairs.
Finishes and colors that play nicely with Cedar Chest Repairs.
| Best Repair Time | Key Considerations |
|---|---|
| Spring | Moderate humidity and stable temperatures promote optimal wood response. |
| Fall | Similar to spring, with less pollen and dust interference. |
| Avoid | Extreme summer heat or winter cold can cause wood to expand or contract. |
| Indoor Repairs | Climate-controlled environments are recommended for consistent results. |
| Post-Repair Curing | Allow sufficient time for adhesives and finishes to cure in stable conditions. |
Cedar chest repairs involve addressing issues such as wood warping, splitting, or veneer damage. Proper timing ensures that repairs are more effective, as cedar wood responds best to treatments when environmental conditions are controlled. The use of appropriate adhesives, fillers, and finishes during the repair process can extend the lifespan of the chest and preserve its natural aroma and appearance.
Tools used for precise cedar chest repairs, shown in a climate-controlled workshop.
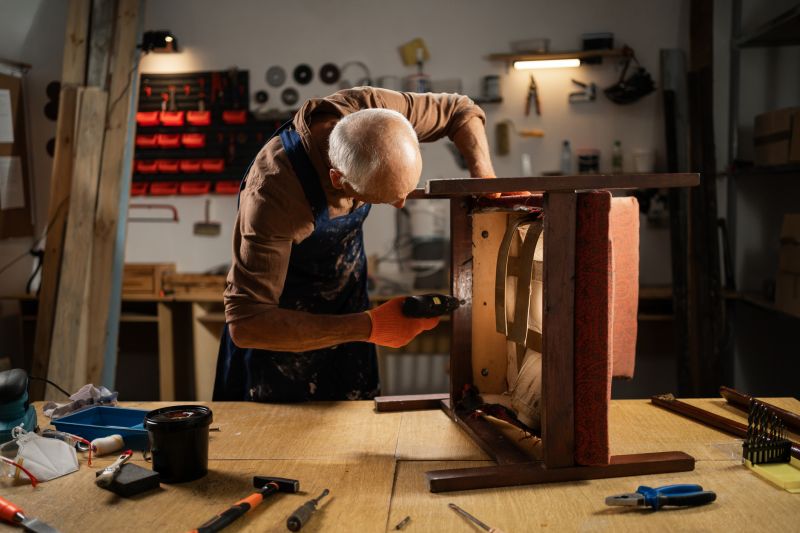
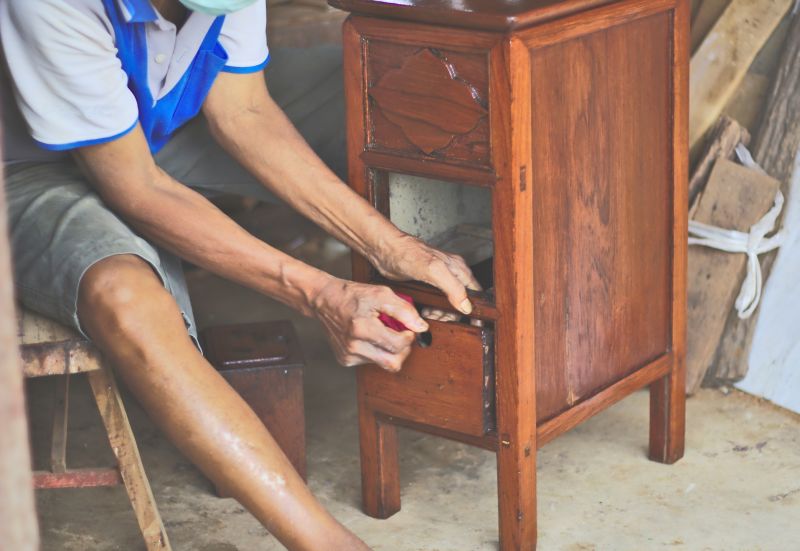
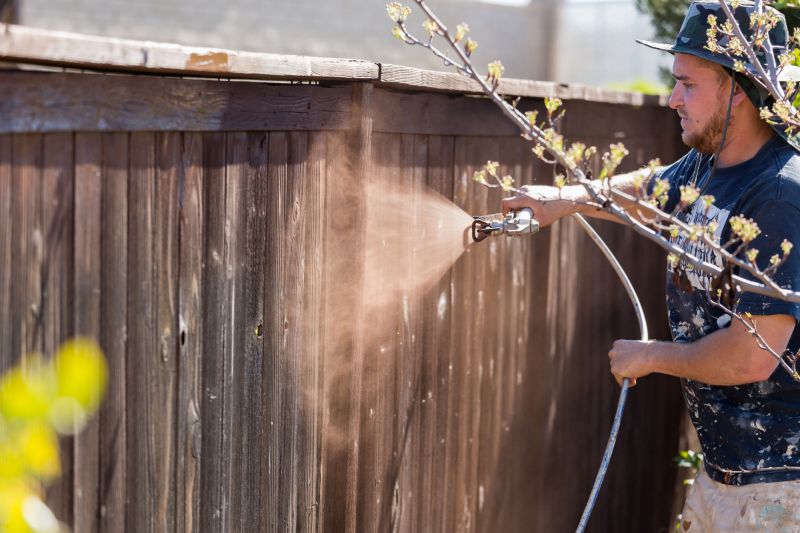
A craftsman carefully filling cracks in a cedar chest during optimal conditions.
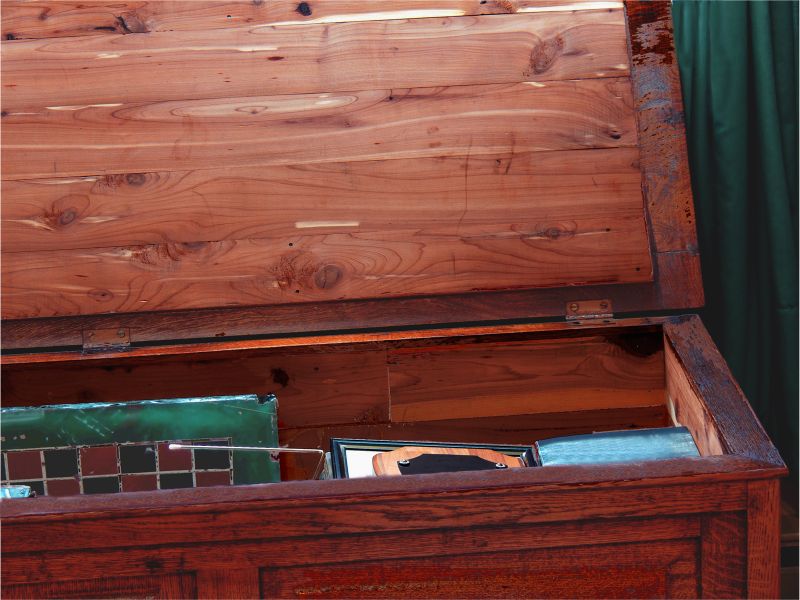
Restoring damaged veneer on a cedar chest with proper environmental control.
Applying finish to a cedar chest in a stable environment for durability.
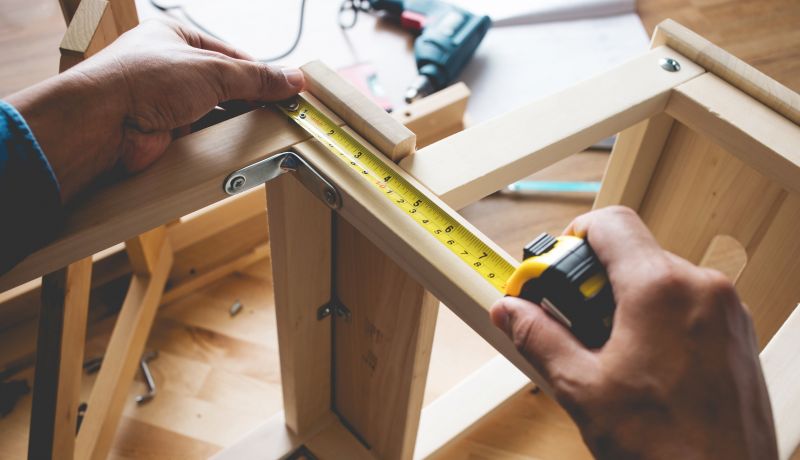
Little measurements that prevent headaches on Cedar Chest Repairs day.
A 60-second routine that keeps Cedar Chest Repairs looking new.
A frequent mistake in Cedar Chest Repairs and how to dodge it.

Small tweaks to make Cedar Chest Repairs safer and easier to use.
Choosing the right time for cedar chest repairs can significantly impact the quality and longevity of the restoration. Proper environmental conditions facilitate better adhesion, drying, and curing of repair materials. Consulting with restoration professionals can help determine the most suitable schedule based on local climate and specific damage.
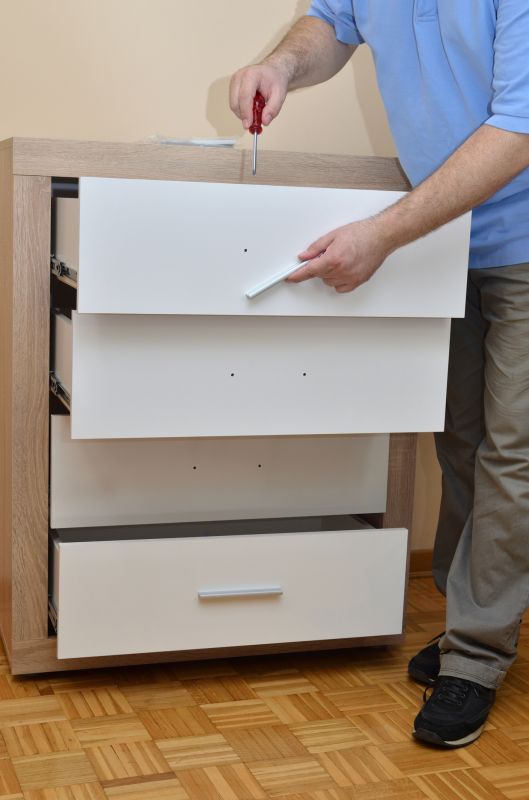
A restored cedar chest in a controlled environment, showcasing quality craftsmanship.

Proper storage and timing considerations for ongoing preservation.
Lower-waste or water-saving choices for Cedar Chest Repairs.
The short, realistic tool list for quality Cedar Chest Repairs.
Rough timing from prep to clean-up for Cedar Chest Repairs.

Quick checks and paperwork to keep after Cedar Chest Repairs.
Examples that show the impact a good Cedar Chest Repairs can make.
Ways to make Cedar Chest Repairs work in tight or awkward layouts.
Individuals interested in cedar chest repairs are encouraged to contact professionals during the recommended seasons to ensure the best results. Proper timing, combined with expert craftsmanship, can help preserve the beauty and functionality of cedar chests for many years.