Cedar Chest Repair Services Overview
Visitors will learn about Cedar Chest Repair services and how local contractors can help restore and maintain cedar chests.
- - Cedar chest repair services for homeowners seeking to restore or preserve vintage or antique furniture.
- - Local contractors specializing in wood restoration and furniture repair for residential properties.
- - Service providers experienced in handling delicate woodwork and custom restoration projects.
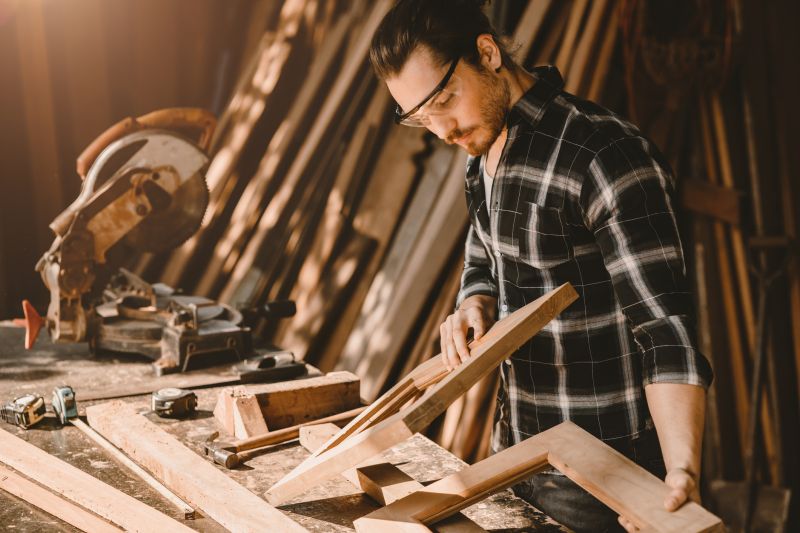
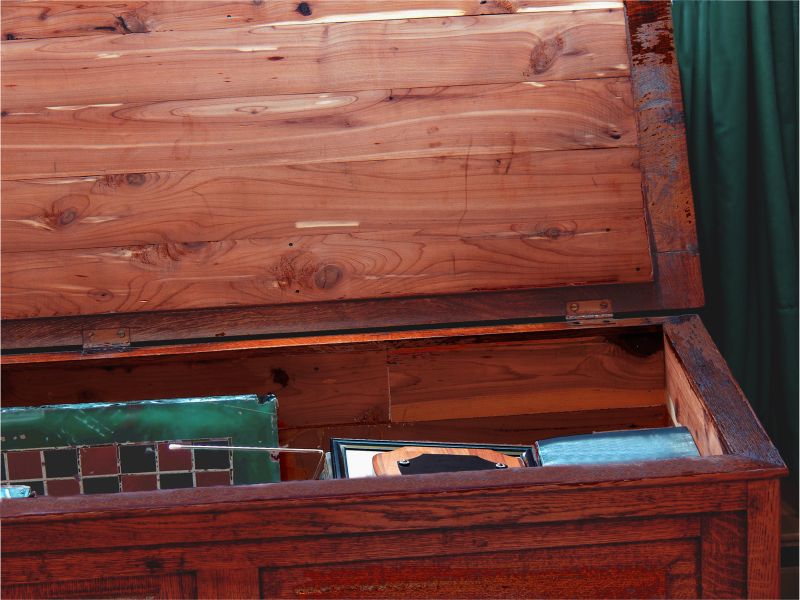
Cedar chest repair services involve restoring and repairing these classic storage pieces to preserve their beauty and functionality. Property owners often seek out local contractors who specialize in wood restoration, furniture repair, or antique furniture services to address issues such as cracks, broken hinges, warped wood, or faded finishes. These professionals typically assess the condition of the cedar chest, identify the necessary repairs, and use appropriate techniques and materials to bring the piece back to its original appearance and structural integrity.
Local service providers in this category handle a variety of repair tasks, from fixing minor cosmetic damages to performing extensive restorations. They understand the nuances of working with cedar wood and antique furniture, ensuring that repairs maintain the chest’s aesthetic value. Property owners can expect these pros to provide practical solutions tailored to the specific needs of each piece, helping to extend the life of their cedar chests and keep them looking their best.
This guide provides helpful information to understand Cedar Chest Repair services and what to consider before hiring a contractor. It assists in comparing local service providers and understanding the basics of the work involved. By using this resource, visitors can better prepare to connect with qualified local contractors for their project.